
Using aperture priority mode gives you the power to control depth of field, and it’s essential for capturing landscapes. We’re talking about getting sharp images with rich, deep focus. This setting lets you select the aperture while the camera figures out the rest. Perfect when you want more control over how your image turns out without getting bogged down in other settings.
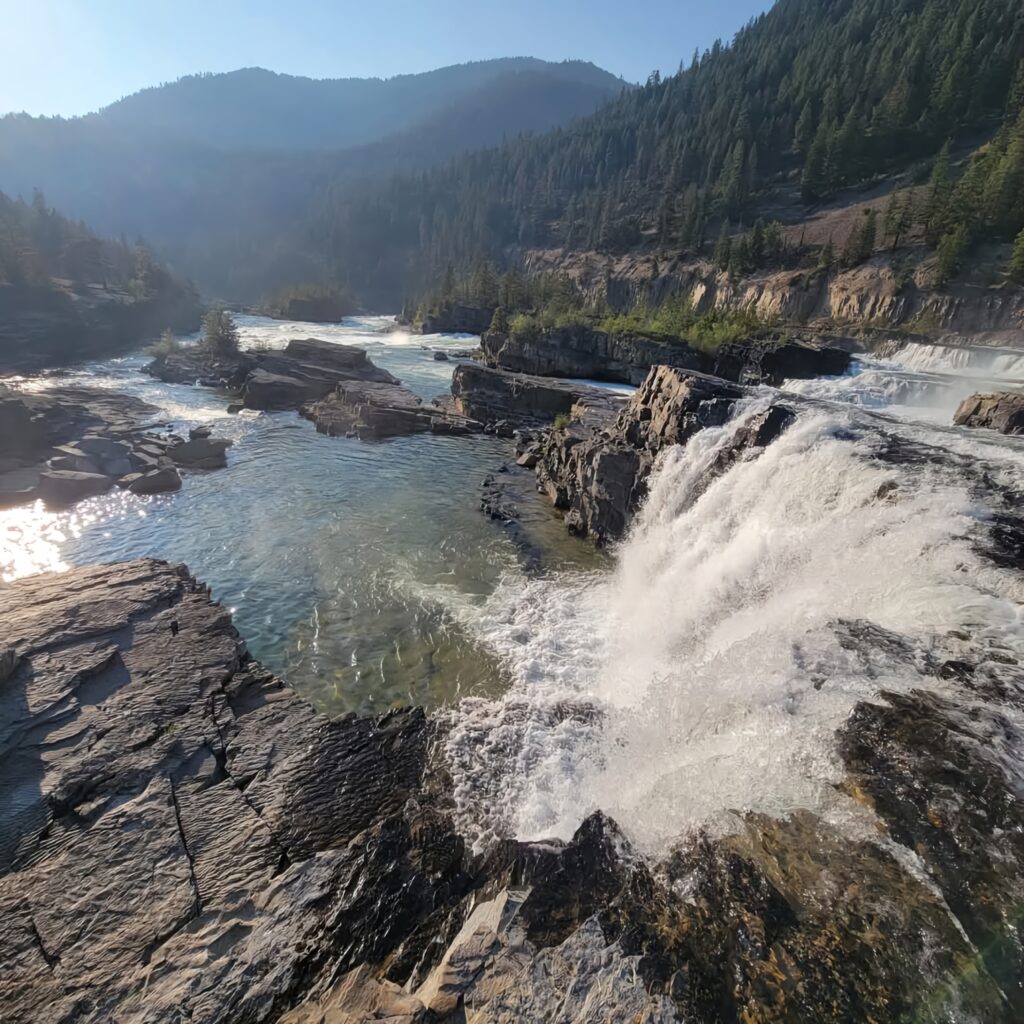
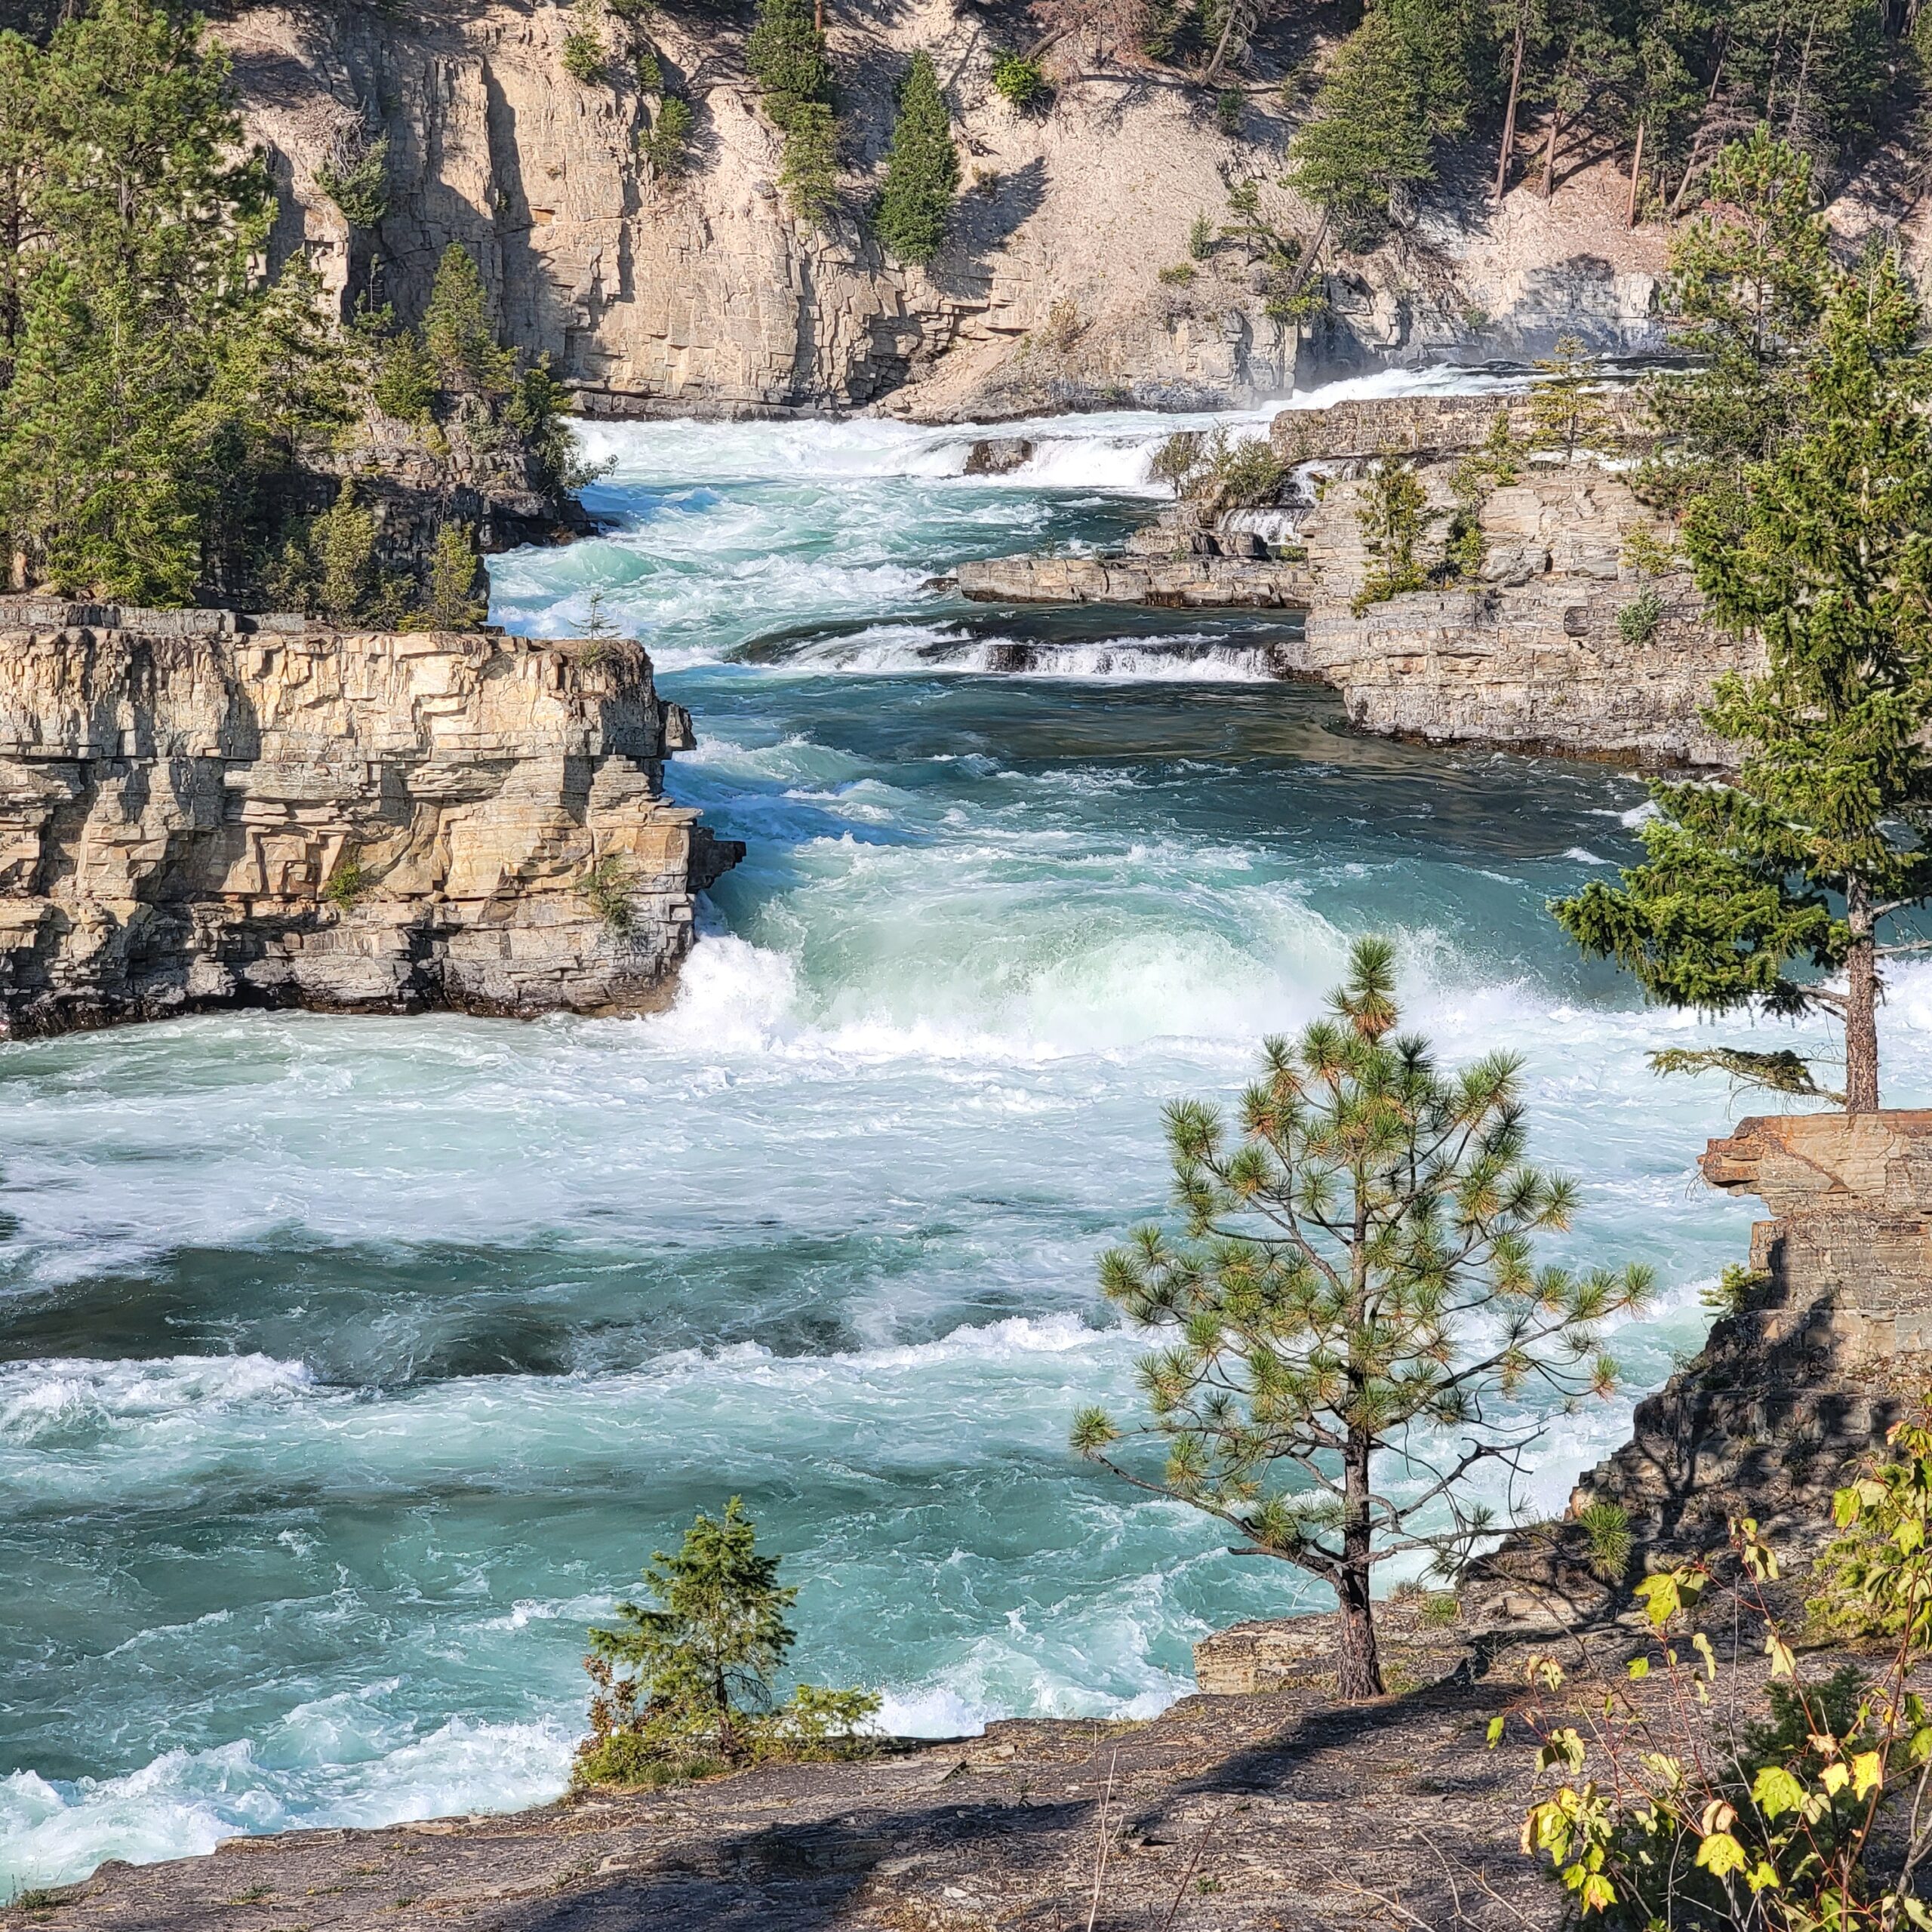
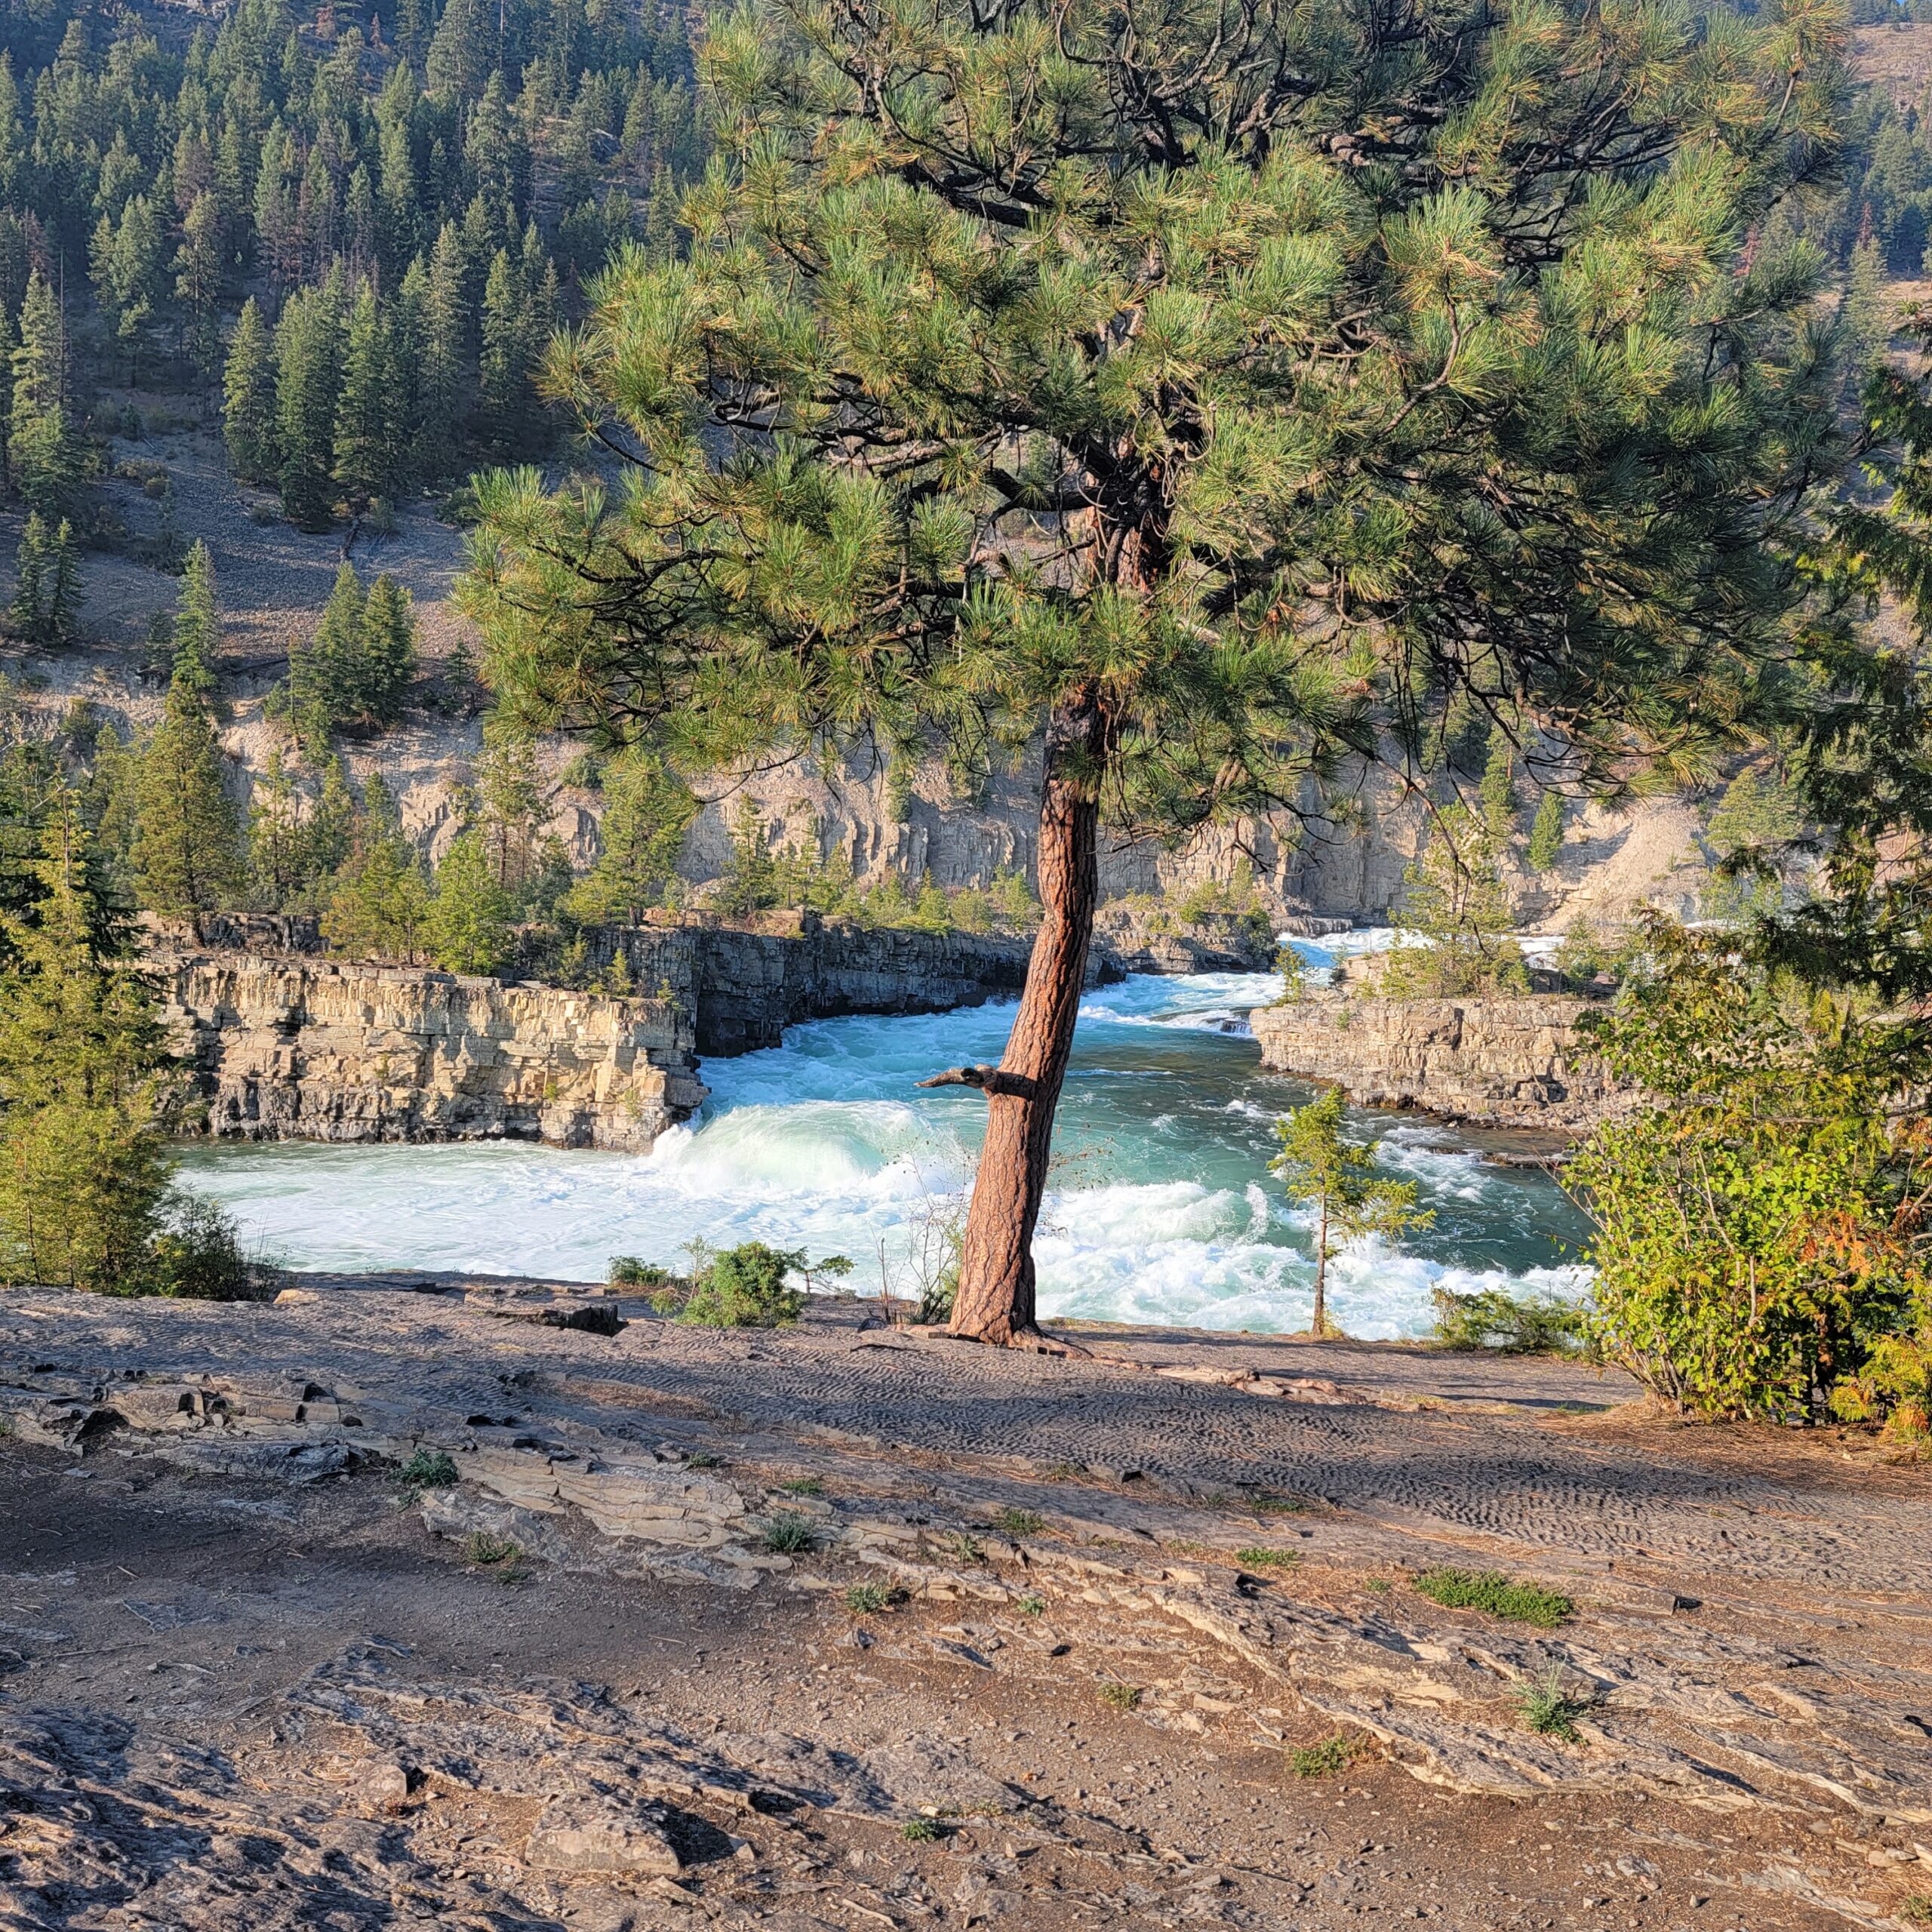
Finding the sweet spot for your aperture is key to crisp landscape shots. Typically, photographers start with an aperture between f/8 and f/16. This range helps you achieve those beautifully sharp images that look good from foreground to background. By keeping most of the scene in focus, you’re ensuring that every detail pops. So, if you’ve got a stunning mountain range or a sweeping beach scene, you’ll capture every nook and cranny with fantastic clarity.
A cool trick when working with smaller apertures is using them for artistic effects like starbursts. Narrow your aperture down, and when you’re shooting into the sun or another light source, you’ll create a starburst effect that adds a dramatic touch to your photos.
Dealing with changing light is often a challenge when shooting landscapes. Imagine a scene where fog is rolling in or clouds are shifting—your aperture adjustments will play a big part here. Keep in mind that different lighting conditions might require tweaking your settings to maintain the overall image quality.
Remember, while you’re experimenting with aperture settings, they directly impact exposure. You might need to compensate by adjusting the ISO or shutter speed or even considering using a filter. This multitasking is part of the creative dance that is landscape photography. It’s all about finding what works best to bring your vision to life.
Harnessing Light: ISO, Shutter Speed, and White Balance
When capturing killer landscape photos, understanding how to harness light with ISO, shutter speed, and white balance is crucial. The key to crystal-clear images is using the lowest ISO your camera offers. Typically, that’s around ISO 100, which helps keep noise—those pesky grainy dots—out of your shots, especially under bright conditions.
Now, low-light conditions can be a tough nut to crack. But before you crank up that ISO, think tripod! A good tripod steadies your camera, letting you maintain a low ISO setting and keep those details sharp even as the sun dips below the horizon.
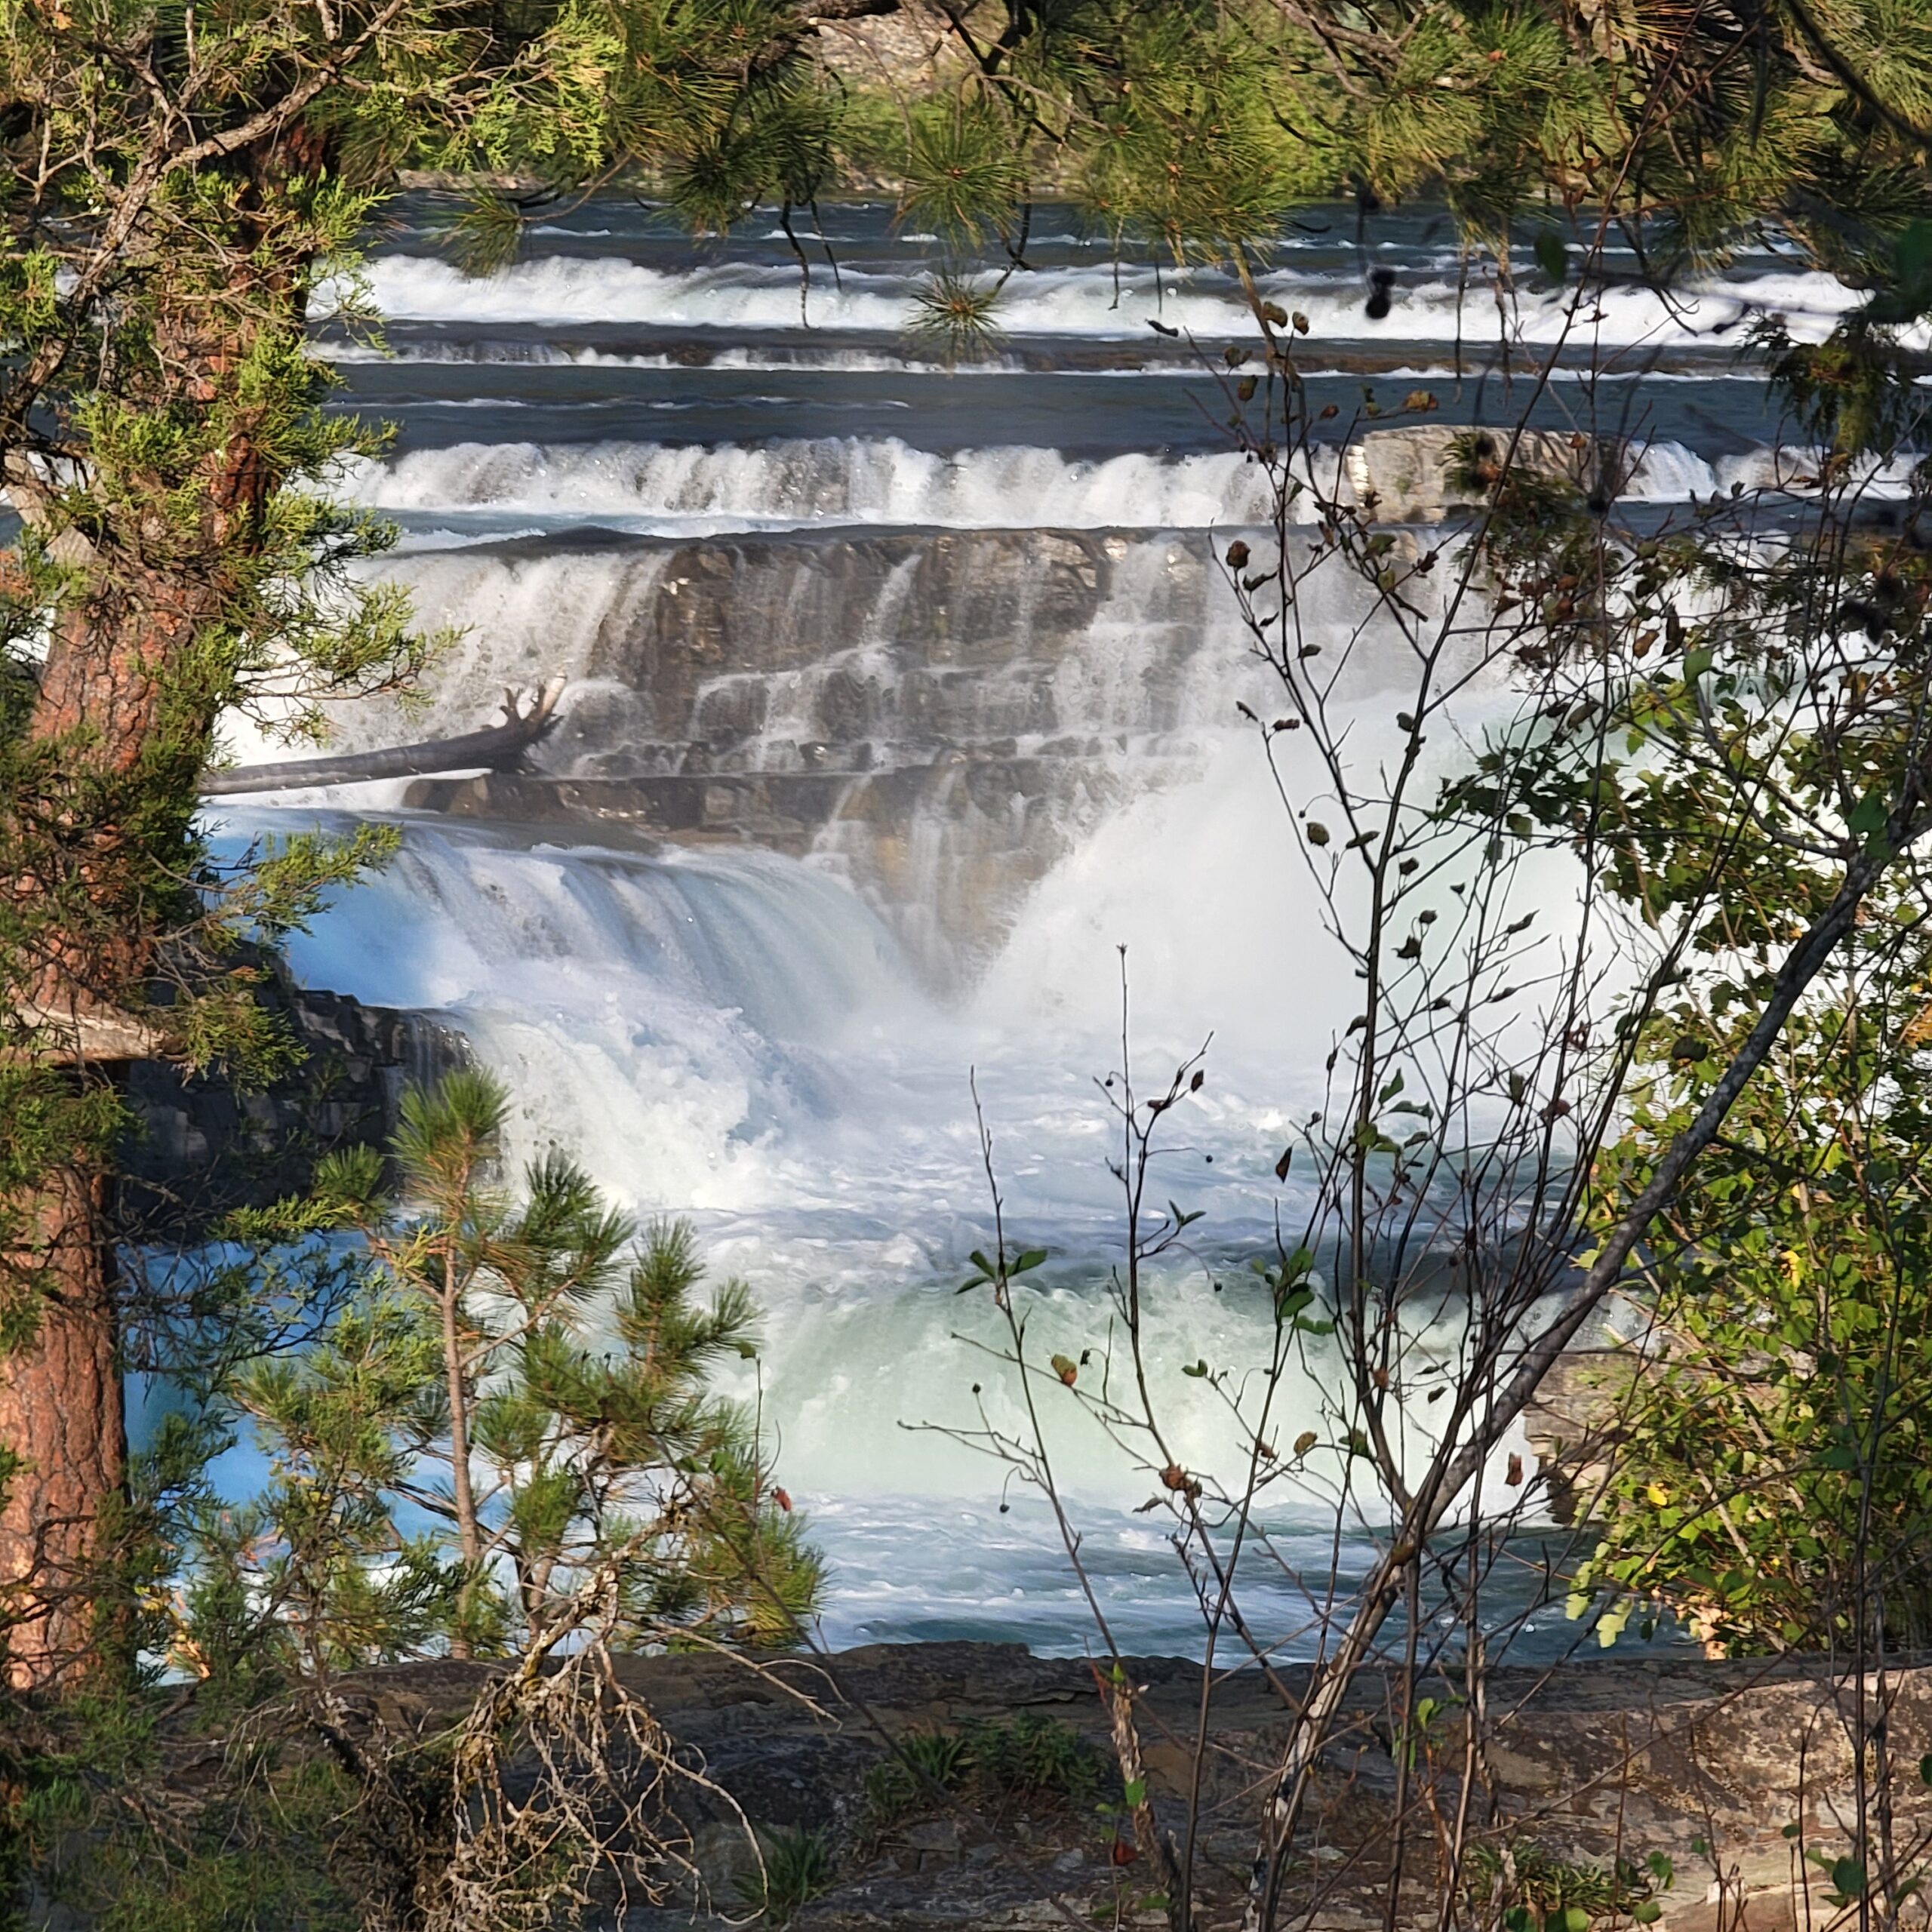
Shutter speed can do wonders for adding life to your landscapes. Experimenting with slow shutter speeds—anywhere from 1/10 to 30 seconds—can capture movement, like water flowing or clouds streaking across the sky. The trick? Use a neutral density (ND) filter during the day to prolong exposure without blowing out the image with too much light. This filter’s magic works by cutting down light entering the lens, balancing out your exposure, and letting you play with motion creatively.
Nailing the right white balance ensures your landscapes have natural, vibrant colors. Depending on your setting, opting for Daylight or Cloudy can add warmth that’s true to life. Shooting in RAW format offers flexibility, allowing for easy fine-tuning later during post-processing.
Got a sweet spot for night photography or them star-studded skies? These settings become even more crucial. You’ll need to balance capturing enough light with keeping everything in its ideal form. Keep your camera steady, play with longer exposures, and boom—you’re set up for stellar landscape photos that truly pop.
Advanced Techniques for Professional-Quality Landscapes

Mastering manual focus and understanding hyperfocal distance can elevate your landscape photography. While autofocus works fine in everyday situations, you’ll often find that sweeping, wide scenes can leave it a bit confused. With manual focus, you take over the wheel, ensuring everything’s clear from the nearest flower to that towering mountain in the backdrop.
Hyperfocal distance is a bit of a game-changer. It’s all about setting your focus to nail the sharpness from near too far. Apps like PhotoPills can be your go-to tool for calculating this precise distance based on the aperture and focal length you’re using. It might sound a bit techy, but once you get the hang of it, your landscapes will thank you.
Focus stacking is another savvy technique that brings the whole scene into sharp relief, especially if you’re facing extreme depth. By capturing several images with different focus points and then blending them in software, you get the best of every focus layer. This is particularly useful when even the hyperfocal distance can’t cover it all.
For steadiness, investing in a good tripod and a remote shutter release is non-negotiable if you’re after professional-grade shots. A reliable tripod keeps everything stable, especially when you’re working with slow shutter speeds or doing focus stacking. Add a remote shutter release to your setup, and you’ve minimized any chance of vibrations—that’s some next-level photography precision!
Composition plays a massive role, so think of it as your roadmap to a stunning photo. By employing strategies like the rule of thirds or leading lines, you’re guiding the viewer’s eye through your masterpiece in a compelling way.
Lastly, stay flexible and patient. Beautiful landscapes often mean waiting for the right light or weather condition. It might take time, but capturing that perfect moment with clouds, light, or unexpected wildlife adds vitality to your shot and is totally worth the effort.